How does a photo develop from original Raw to finished print?
I first mentioned this last week in this post, but I have been playing with the Impresso Plugin that produces some really nice oil painting effects in Lightroom and Photoshop with very few steps (although there are many options I haven’t fully got to grips with yet!) and after I completed one recent image I went back and looked at the progression from the original shot to the finished item:
An artist shouldn’t really show the original photo as it makes it seem like nothing is real any more, but here are the steps I went through.
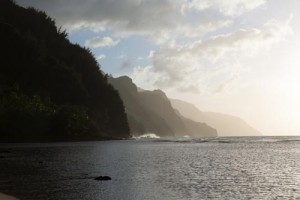
Because I was facing directly into the setting sun, and I had my tripod with me, I decided to take some HDR shots to provide for detail in the dark trees on the left. For some reason my camera was set to a color temperature of 4200 (which doesn’t matter at all in a Raw capture), and so my first view of the standard exposure was this one:
Almost makes you want to throw it into the recycle bin! However, I wanted to see what the HDR version would look like and so I used the new “merge to HDR” feature in Lightroom and tweaked the color temperature a bit to get the blues in the sky as I wanted them:
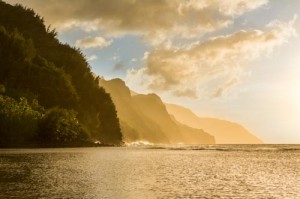
Now you can see the detail in the nearest headland and the sky isn’t blown out. But it doesn’t look much like a sunset! And that rock in the foreground is pretty annoying. So I opened this version in Photoshop and then warmed up the temperature considerably in Lightroom to get the oranges and warm colors and created a layered image in Photoshop:
So my final image that went on my various stock agencies, including Backyard Stock Photos and Symzio was this one:
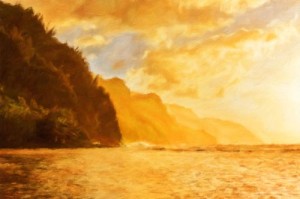
I then decided to play with the Impresso Plugin to create an oil painting – just a few clicks through the different presets coupled with adding back some detail in the vegetation on the left gave me this one – click on the image to see it in larger size on Fine Art America:
The final step took no more than five minutes – and I ended up with something that I would like to see on my own wall as a large print – canvas would look nice!


Oh wow, this is really nice effect, Steve!