Simple “Add Pop” to your photographs
I came across this simple tip in a magazine, and thought I would pass along. It also will help me remember it as well.
This tip works in Photoshop to quickly and easily add some POP to your photographs. Use with caution with iStockPhoto as they don’t tend to like over filtered images, but it certainly adds some mid tone contrast and clarity to the right images.
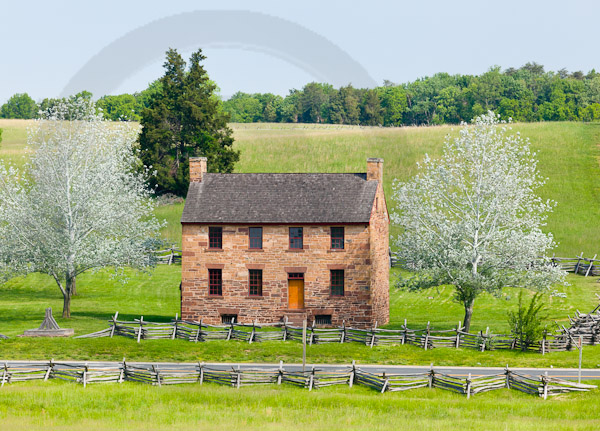
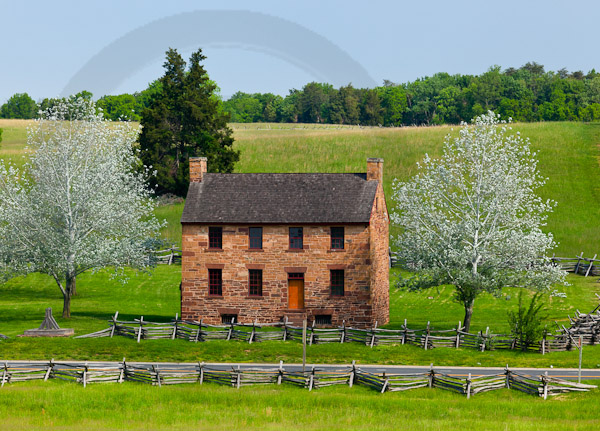
The first photo is the original image after the normal adjustments in Lightroom for Exposure, Blacks, Clarity and Saturation. Open the adjusted image in Photoshop and create a copy of the Background by dragging to the “New Layer” icon. Change the blending mode of this new layer from “Normal” to “Multiply.” The result will be much too dark, and so reduce the opacity of the layer to around 30 – 50% until you get a contrasty but realistic result. The Open the Channels tab (in the bottom right in Photoshop CS5, or find it with “Window>Channels”) and “Ctrl-Click” on the RGB channel. This creates a selection of the lightest parts of the image. Click “Ctrl-J” to create a new layer with the highlights copied across into that layer. Finally, set the blend mode of that layer to “Soft Light” and adjust the “Opacity” to suit. The second photo shows the results of making those adjustments in Photoshop with the “Multiply” layer set to 50% and the “Highlights” layer set to 100% opacity. Worth trying – in fact, it would be worth making an action to create the necessary layers and then adjust the opacity to suit the image!


