
Easy creation of Pinterest Pins for artists
Sorry – another fine art story! I will get back to stock photography soon…
I recently produced three articles on Social Media for Photographers, and one of the issues I came across is how to feed the Pinterest beast with new pins showing off the latest images I have uploaded to Fine Art America. I use Tailwind to schedule these pins and that has a free pin creation system but it is limited to 15 pins a month. As I try to pin 3 or 4 pins a day, and more recently I have discovered that repinning your own pins to multiple boards is now discouraged, then I need to get a quick and easy method of creating new pins of my images.
I slowly worked out my own scheme and I can now create a new pin from an image in about 1 minute and I can get it online with Tailwind and ready to schedule and post in another 90 seconds or so, so in less than 3 minutes per image, I can create a new pin and title, describe and schedule it. 4 a day probably takes 10 minutes so I can do a week’s worth of pins in around an hour or so.
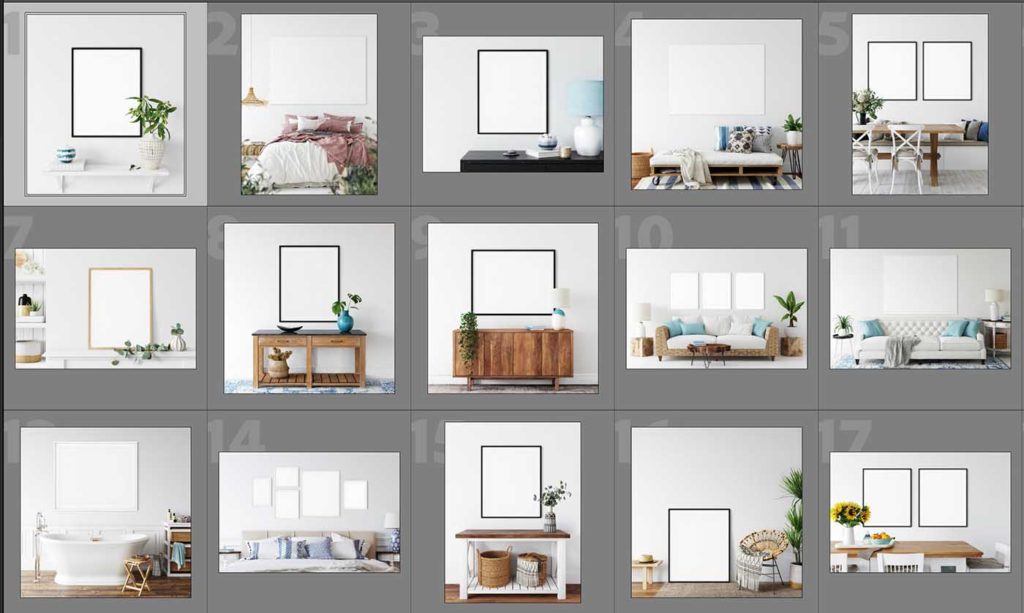
As I mentioned in a previous post I joined DesignCuts to be able to download two sets of room templates with frames. These give you many different room wall layouts with the ability to customize wall art frames to your own requirements. Typical examples of the room templates I received are these:
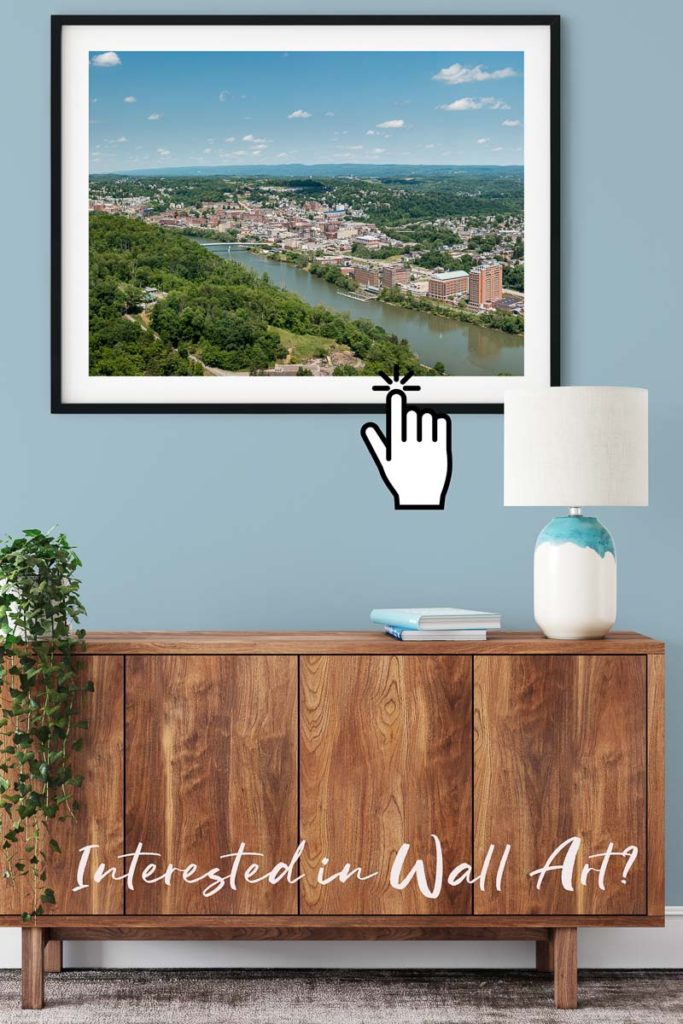
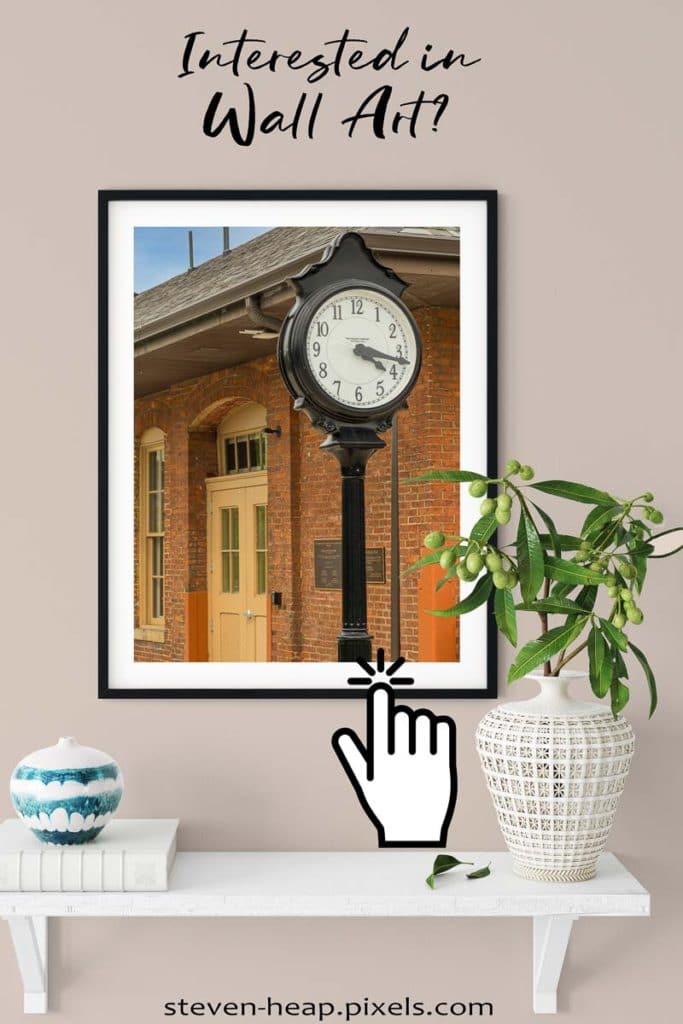
I then chose two – one with a vertical frame orientation, one with a landscape one and customized it to include my explanation of what I am offering, my website name and a “call to action” – a hand with finger extended to suggest clicking on the Pin. The two I chose are these. They are still Photoshop files with all the layers intact, including a smart “double click” to replace the image inside the frame.
These templates are in the right 3:2 ratio for pins but are larger in pixel dimensions than recommended for Pinterest (1500 x 1000). So my process starts when I export the full size, full quality jpegs for upload to Fine Art America. I always export these to a temporary folder and then I can upload and complete the process on the FAA site.
I then open each of those jpegs in turn in Photoshop and drag onto the frame smart object to replace what is currently there. I scale them down so they fit as best they can, save that to bring it back into the template. I change the room color by clicking in some tint inside the image to make it match a bit and then save as PSDs into one of my Lightroom folders for these pins. This is the bit where it takes around 1 minute to open a jpeg, drag to fit the frame, change the wall color and save as a PSD.
Once I have done that, I can select all those new Pins in Lightroom, and export as jpegs, reduced to 1500 pixels and converted to sRGB. Just a quick step to get all my new Pins in the right format for Pinterest.
Then onto Tailwind. I upload one of these images into the pin creator, and in my second monitor, I find the same image on my Pixels site. That allows me to quickly copy the URL and set that as the destination in Tailwind. That also reads the title of the image from Pixels. I copy my current description from the Pixels image and paste that into Tailwind for the description. Then select a Board for the Pin and click on schedule. That is it – just over a minute for this bit.
I try to do several days worth of images at a time as I have many images on FAA that have never been published in Pinterest and so I have no shortage of images to work with. My aim at the moment is to get some traction on those Pins such that they are seen by more people and then I can decide how and when to change my approach.
If you have improvements or suggestions for this flow, please let me know in the comments!

This series of articles is also very interesting for me, because I start working on the sale of my artistic photographs and this type of tool is very important for marketing, since photography in a home scene looks more attractive. Some time ago I took some pictures of rooms and I started creating images from them, but it was quite laborious. I will look at the website you are commenting on and I will invest in some templates. Great post! Thanks!
Yes, these mockups are very well created with layers to let you change most things about the image – the wall color, the frame size and location etc. I bought two (although really one would have done). I got the Coastal Mockup and the Frames and Walls mockup. The templates make the creation of these pins very easy.
Steve
Good article Steve! I am sure work like this not only inspires others, but I am sure it continues to inspire you as well! Thanks for sharing!