Flying a drone in Hawaii
This is probably a very specialized post and mainly of interest to existing drone users, but if you are thinking of buying a drone to sell the images and videos online, then this could be useful to you! I’ve also written a specific post on my early experiences with the drone and in getting my license in the US to use a drone commercially over on the Dreamstime blog.
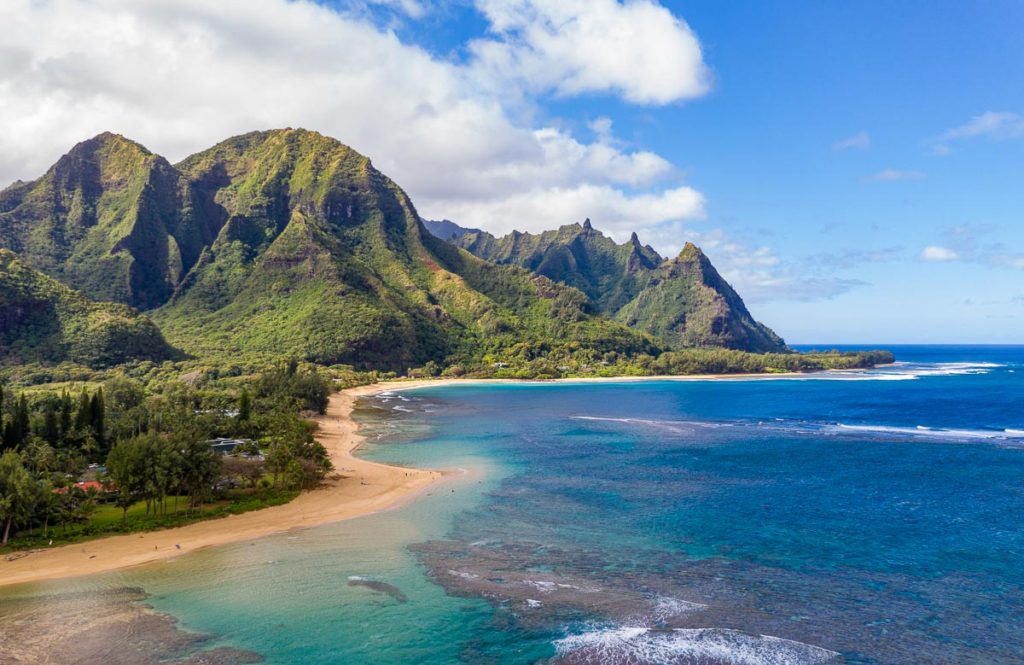
The obvious reason to use a drone in a beautiful locations such as Hawaii is to get interesting compositions and views of the islands that are just not possible with your camera. I’ve taken open door helicopter tours on Kauai and taken some great shots from the air, but you are very restricted in two ways – you only see the sights that the helicopter takes you to and you are limited to the weather and light conditions at that time – a bit of a crap shoot. Helicopters also maintain a reasonably high elevation about the ocean and so you tend to be looking down on the beaches and coastline. However, if you choose a sunny day, you can certainly see sights that will provide you with lots of great images. The drone is limited to flying no higher than 400 feet above the ground level and so you do get an elevated view, but more importantly you get a view from a different place and perspective. This image of Tunnels beach in Kauai is a case in point – I have many images from the beach level, but I don’t think I have seen many stock shots from this sort of perspective.
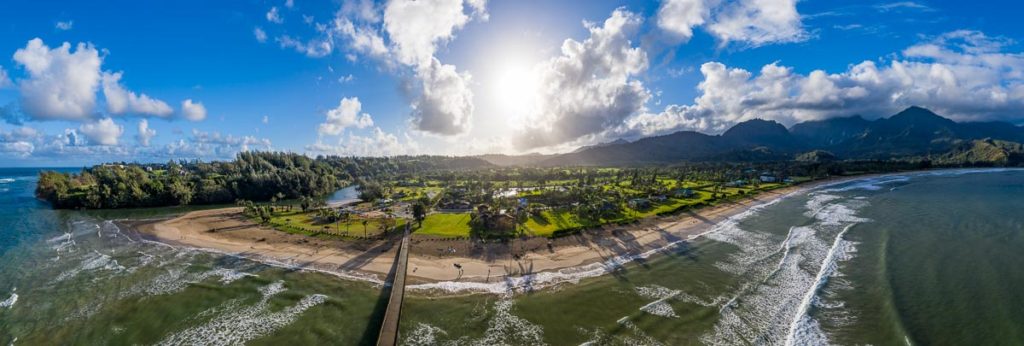
The next obvious question is – where can you fly? I found a great resource from a local photographer about the various regulations in Hawaii. In essence, the regulations are that you cannot operate the drone when you are in a National Park or a State Park in Hawaii. Also National wildlife sanctuaries are off bounds as well – they almost always have signs announcing no drones allowed as well. County parks seem to be OK and I also checked with a lifeguard watching a surfing competition on Oahu and his advice was that it was fine as long as you didn’t bother people. That also matched some advice from another photographer on Kauai that people there like their privacy and tourists are a necessary evil – so don’t look like you are spying on them! Interestingly, the FAA controls the airspace in the USA and so you can stand outside the boundary of a state park and fly the drone in the air over the park itself. I didn’t try that, but it did make me wonder where is the boundary between a state park and the ocean itself? Could you stand in the sea and fly from there?? In general, you are not trying to upset people and also trying to get the best light, and so I tended to go out early in the morning before many people are around as with this sunrise image over Hanalei Pier on Kauai:
I soon found that the standard drone field of view is relatively restrictive, although you can fly further out to get that wider picture. Taking a series of shots as the drone rotates is the obvious next step which gives you a stitched panorama. I then tried taking a manual series of shots to try to create a full 360 degree shot including images straight down to fill in those gaps. That was pretty tiring and I ended up with far more shots than I needed. I then came across a great App called DronePan that is available for the iPad and in beta for Android. With this, you can fly your drone as normal using the DJI app (mine is a Mavic 2 Pro) and then open the DronePan app and set up the options for a full 360 degree panorama. It recognizes the drone camera and calculates all the images it needs to take with sufficient overlap and then automatically takes those shots (saving each of them in raw format) and stitches a Jpeg of the entire scene together. The output looks pretty strange:
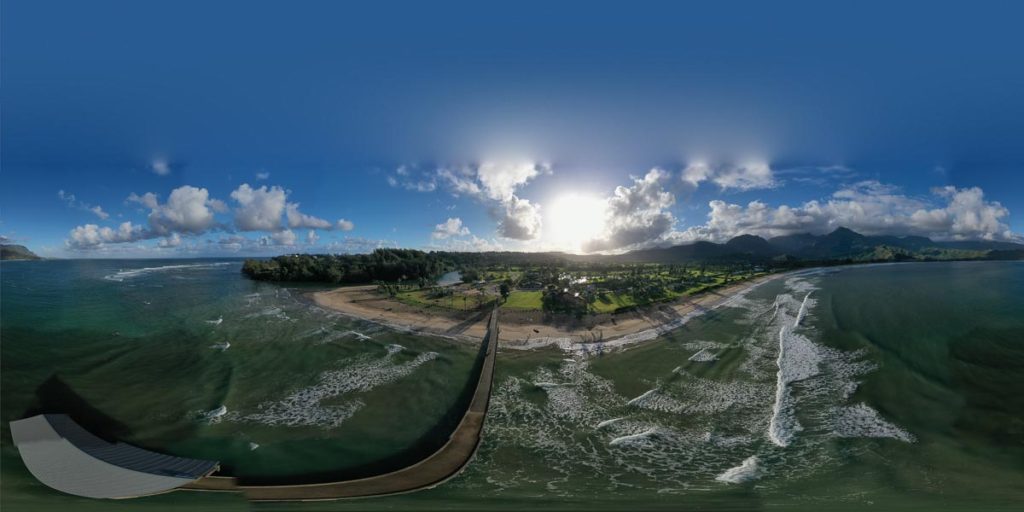
It is intended to be used for a virtual tour around the 360 degree space (or for one of those tiny planet shots) but I found that you needed to use something much more professional than the panorama stitching in Lightroom. I did investigate PTGui and that could take all these images and with quite a bit of manual matching of the ocean images in particular, I could make both the interactive images and also the tiny planet shot, but as I’m motivated by what I can sell online I decided not to go for the full license of PTGui ($149) and stick with Lightroom. I found that the Jpeg gives a good overview of what you have captured and then I could select the appropriate raw files and stitch those using Lightroom to create a more traditional panoramic view of the scene. I sometimes had to move to Photoshop and use the puppet warp tool to straighten some of the horizons at the edge of the scene, but generally LR did a great job of putting the pieces together.
These offshore panoramas gave some great perspectives on Kauai as an island. If you choose a point that is a natural headland with the beaches diminishing on both sides you get a view with an enlarged center (as that is closest to the camera) and receding edges:
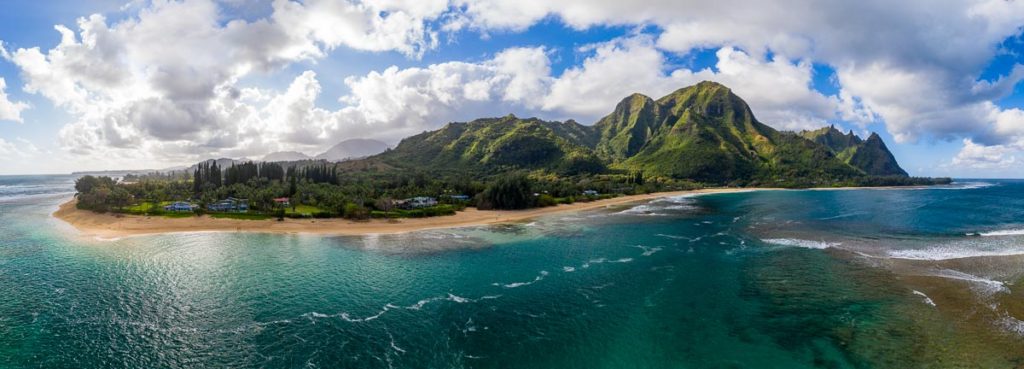
I was very pleased with how this came out – it really provides a dramatic illustration of the beach we saw at the start of this article with the mountains providing a great backdrop. The sun was overexposed on this one and so I did a bit of cloud cloning to partially hide the burned out sections, but I think the end result would be fantastic as a metal print. Its resolution is 15,580 x 5581 pixels so easily big enough for a very large print.
I also found the drone was great for just getting above the clutter of buildings and trees at ground level to see the full horizon:
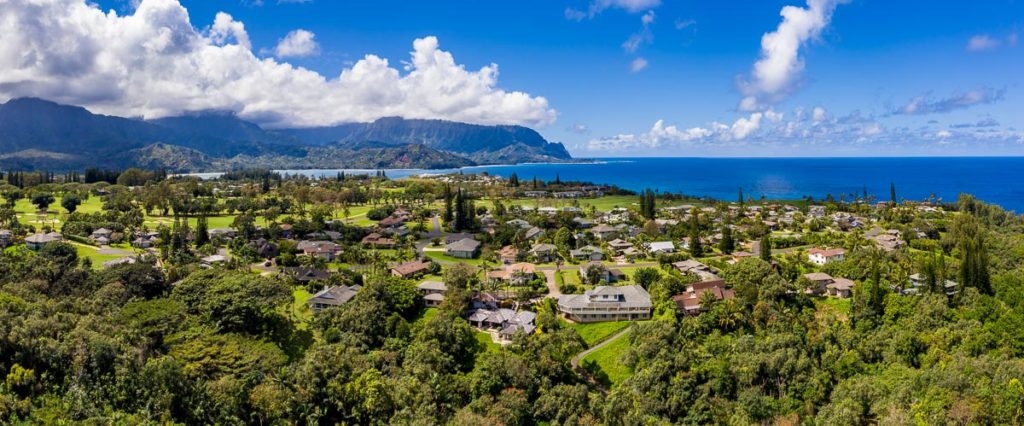
This was just sent straight up from the road close to the place we were staying to provide a view across Princeville to Hanalei bay in the distance. Again, no-one was around and I hope no-one was bothered by the drone.
Islands are often windy places and so I first made sure that it wasn’t too windy to fly (the Mavic is OK up to about 25mph of winds), but I always found a sheltered spot to land. I was happily surprised by how stable the drone and its camera gimbal were in the winds off the shore – I did get some warning messages that the wind was high and make sure it was safe to land, but all the shots were clear and sharp. I did use a 4x ND filter and polarizer for most of these shots – aligning the polarizer by eye and then leaving it in place for the shots. This time I decided to ignore the rule about the shutter speed for video being twice the frame rate as I wanted to take both still and video shots on each flight. I haven’t processed the video yet, but my early checks were fine.
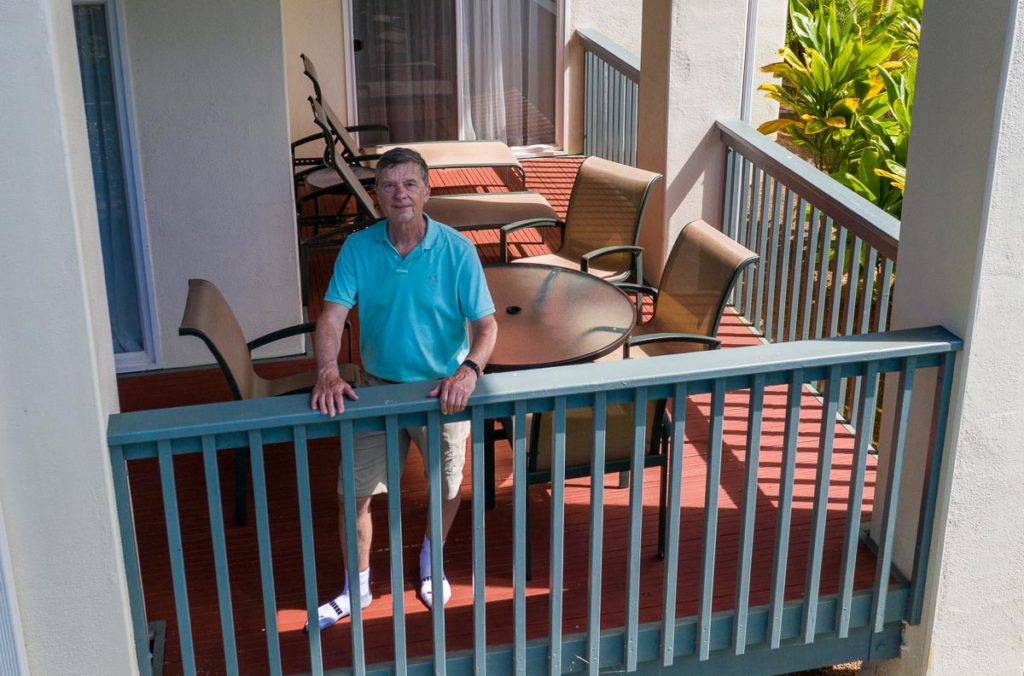
Incidentally, I am also keen to explore the use of a drone to get a different perspective on normal stock images and videos – a higher viewpoint on a barbeque for instance. I did try a few ideas and found that I could set the drone to hover in place and take one shot every 5 seconds to allow me to put down the controller and do something interesting. I guess this next image isn’t exactly that, but you get the idea!
Video is still harder for me than stills! Of course I can make the drone sit there and take a video of the rolling waves, but making a motion shot to reveal a scene is much harder. I’m also less sure what a buyer of a video would want – do they want that reveal shot, or do they want a more static shot they can splice into their production? I guess I will learn with experience which of these uploads actually sells! I only have a few videos online so far and looking back at them, I think I could have done more to boost the colors a little. I record in the D-Log profile which results in a flat, but higher dynamic range video and use the free DJI LUT table to adjust the colors. I plan to invest in some other LUTs for my latest videos to see if I can improve things. I’m sure a professional would tell me that a relatively flat video is actually better for a skilled editor, but if they don’t jump off the screen when someone is scanning for a suitable clip, I do wonder if they will be left behind! Again, time will tell!
Well that is my learning so far on the subject of drones and stock photography and videography. I intend to keep going and build my skills and hopefully, one day, the drone will pay for itself in license fees! I do know colleagues who earn a lot from their drone work – cities seem to be a popular subject, which brings with it all sort of other safety and legal issues, but I will continue to learn and report back on my experiences and results.
Just an update – these shots have proven to be quite popular on the various stock agencies after just one week of exposure. I get used to uploading images from a trip overseas and not seeing any action at all for the first month or two, but I have definitely seen traction! What is even better is that this article was seen by a popular site called HawaiiGaga.com who specialize in organizing Hawaii Vacation Rentals. We agreed a private licensing deal for three of my drone panoramas for them to use to illustrate the condo rentals on their site. So if you want to follow in my footsteps (and see my Top 10 Instagrammable locations on Kauai, check out their offerings!

I’m really enjoying your posts. I did the open-door helo tour of Kauai a couple of years ago and agree about the limitations for photography. I’d just bought my new cam and lenses and didn’t really know what I was doing with them yet. Still, got a nice top-down shot of Tunnels Beach. Aren’t there drones that will support a DSLR and a wider lens?
Paul
Thanks! I did the open door tour with Jack Harter and did end up with some good shots, but it is ones that everyone could get. There are really big drones that can support an SLR, but it is not the sort of thing you would easily travel with. The camera on this Mavic 2 is probably 24mm equivalent I think and as I found out, it is very easy to do panoramas by rotating around the scene. This drone goes in my backpack and is not too difficult to carry all day if you have to. Of course you need spare batteries as well!
Steve