Green Screen Extraction in Photoshop
I’ve been doing more green screen oriented stock photos recently because my travels have been sorely restricted! Why a green screen when it might be much easier to extract against a pure white background? Well, I wanted to produce both videos and stock photos of the various ideas and Premiere already has a great extraction tool with the Ultra Key effect and that seems to do an excellent job with getting clean edges and a smooth video composite as you can perhaps see from this example:
So to get this, I need to set up continuous lighting and a smooth green backdrop so why not use the same arrangement for my still shots as well.
I’ve experimented with various ways of lighting the green backdrop, which as I mentioned in a previous post came from Elgato Gaming and is aimed at people streaming their gaming activity online. It collapses neatly into its case and raises with a hydraulic lift up to around 6 feet high. The problem with green screens for video (and still) is that you need to get constant light levels across the screen and no shadows from the main subject, especially around their head. After trying to shine two lights on the backdrop from each side, I found that a 40W daylight balanced LED bulb in a Neewer 24 inch softbox placed just besides the subject provided pretty even lighting and cost less than $50. You don’t really need high quality light just to light the green color of the screen – consistent lighting is much more important. My setup then looks like this:
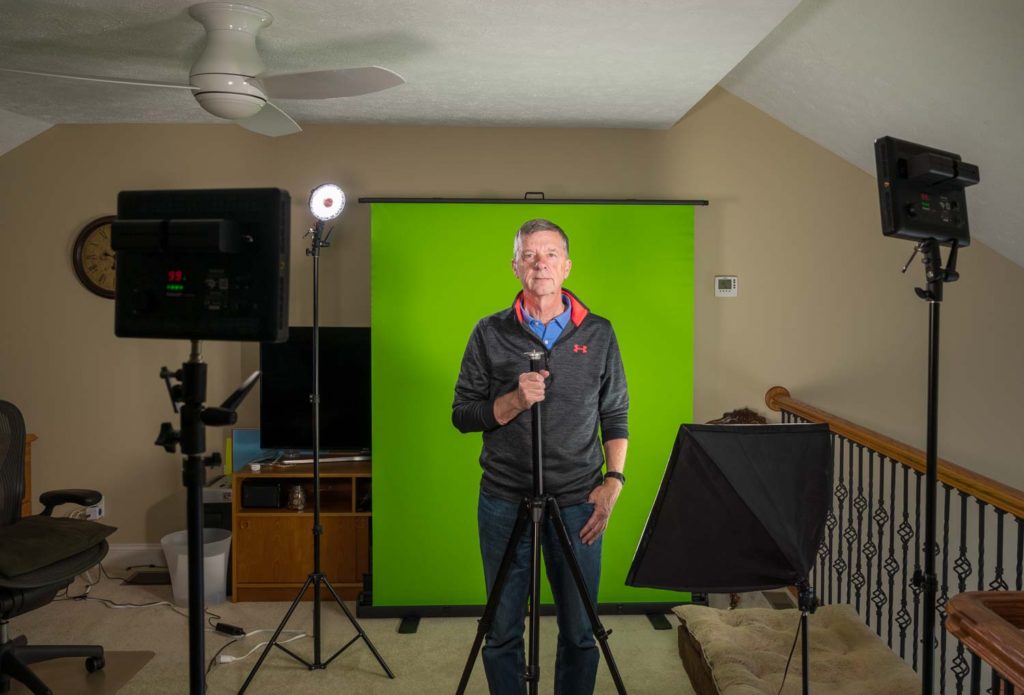
The lightbox is to my right in this shot and that is providing lighting on the screen which is around 5 feet behind me. The tripod in front of me is to make sure my face is in the zone of focus of the lens (manual focus and exposure) and I can drop the center column for half body shots. I have two Aputure LED panels. These don’t seem to be available in a kit any longer, but there are a number of similar things on sale for around $250 for two panels. These provide the main light to the face and they are offset so that the shadows fall to the sides on the screen. Finally, I managed to buy two Rotolight NEO2 lights when they were half price at $149 each. These are great on the camera for continuous lighting for video (or still photos) and are lightweight and battery powered. Here I am using one as a hair light which also provides some lighter edges to my head and shoulder to separate them better from the background. I turned the power down for the real shot so that it is less obvious.
The end result of all this is a shot like this with an exposure of 1/40th second at F6.3 with ISO400:
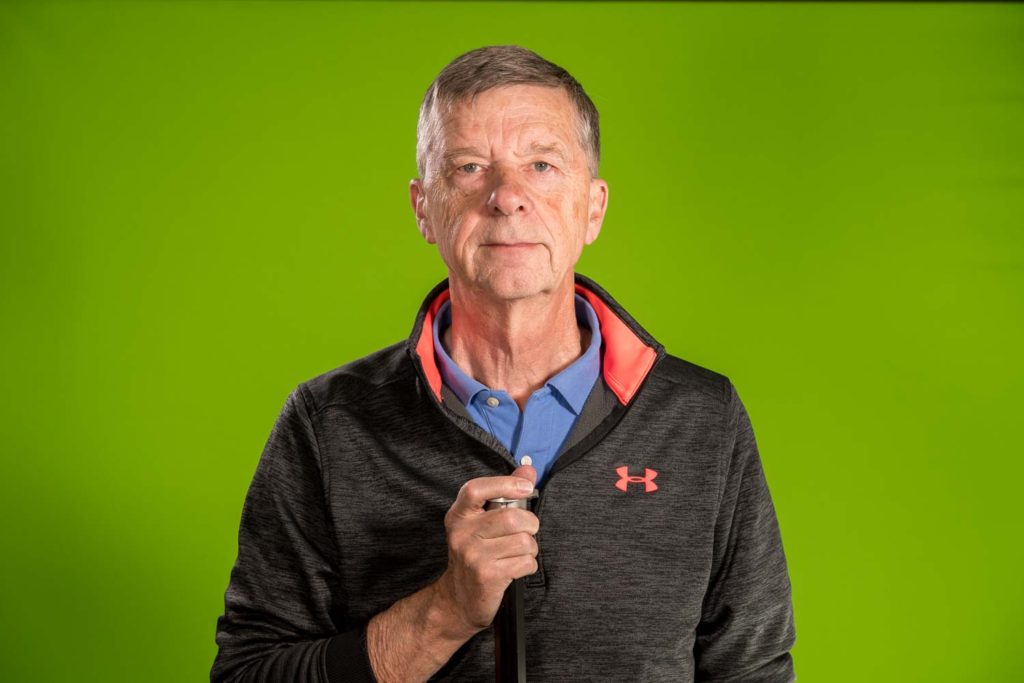
As you can see, the background with this wide shot is a bit dark in the corner but the shadows are well away from the subject. In Premiere I would draw a mask around the subject so that I remove the darker areas of the screen, and the same technique works well in Photoshop as well. But I wanted to talk more today about how I extract myself from that background without spending hours on it.
My first attempts were just using the capabilities in Photoshop itself. I tried selection by color range and that works pretty well, although with a relatively open aperture, not everything from front to back is in focus and my efforts struggled a bit with the slightly out of focus areas where the green was bleeding into the subject. So I had to use the pen tool around those areas to get a better edge. Hair is always difficult and I used the Select and Mask tool to try to improve the hair. I then found that the thermometer was not fully in focus and so its edges were rough in the selection and I had to use the pen tool all along the arm and edge of the thermometer. The back of the head was similarly slightly out of focus and my efforts here were a bit more amateurish:

I probably spent an hour working on this and while it isn’t great against a white background it actually blended OK into a normal background, but it wasn’t an easy process.
So I started to think about plugins for automating this process and after some research I focused in on EZ Green Screen which costs $119 and Key36 Photoshop plugin which is a combined cloud plus script approach where you pay by the extraction – the first 25 are free (which is where I am still) and then 100 extractions are $24.99 with a high volume price of 1000 extractions for $149. These are not time limited, so I think you could use your extractions over the next few years.
EZ Green Screen looks like a very professional package that is aimed at sports photographers taking hundreds of photos of school athletes and compositing each onto into a poster, for example, and so it is very strong on automation approaches to do that in batches. It seemed very comprehensive with loads of explanatory videos on the website and a clever two pass masking system where you draw a loose selection around the hair and it takes a different approach to that area compared to the rest of the subject. It also ends up with a multi-layered Photoshop file where you can mask back some green clothing for instance, alter the green edge suppression approach around the hair or light color clothes. Pretty much everything seems to be covered in their control panel including neat tools to shrink the selection by one pixel for instance with the click of a button. Yes, you can do it in Photoshop but this was much easier. You can work on the image to make improvements because all of the underlying layers are still available.
Key36 was far simpler – you run a script which opens up some linkage back to their cloud processing (I think!) and the options are few – choose the color of the screen, correct for a darker edge around your subject, but basically, you run the process and then can check the results on the screen before accepting the extraction. This then debits your store of extractions and processes the file back into Photoshop. You are left with two layers – one with the extraction and one that can bring back green clothing into the subject. At this stage, what you see if what you get. You could work on the mask layer using normal Photoshop tools, but I don’t think you can go back and do some small enhancements via Key36.
My gut kept telling me that the EZ Green screen plugin “must” be best with its comprehensive options, but I thought I needed to test both with this same image that I included earlier. To be honest, the results surprised me! First up was EZ Green Screen. I used the two mask approach and ran the extraction. I ended up with this extraction after correcting for the color it chose for the green suppression around the hair. It seems to choose a brown color and unfortunately my hair is more on the grey side!
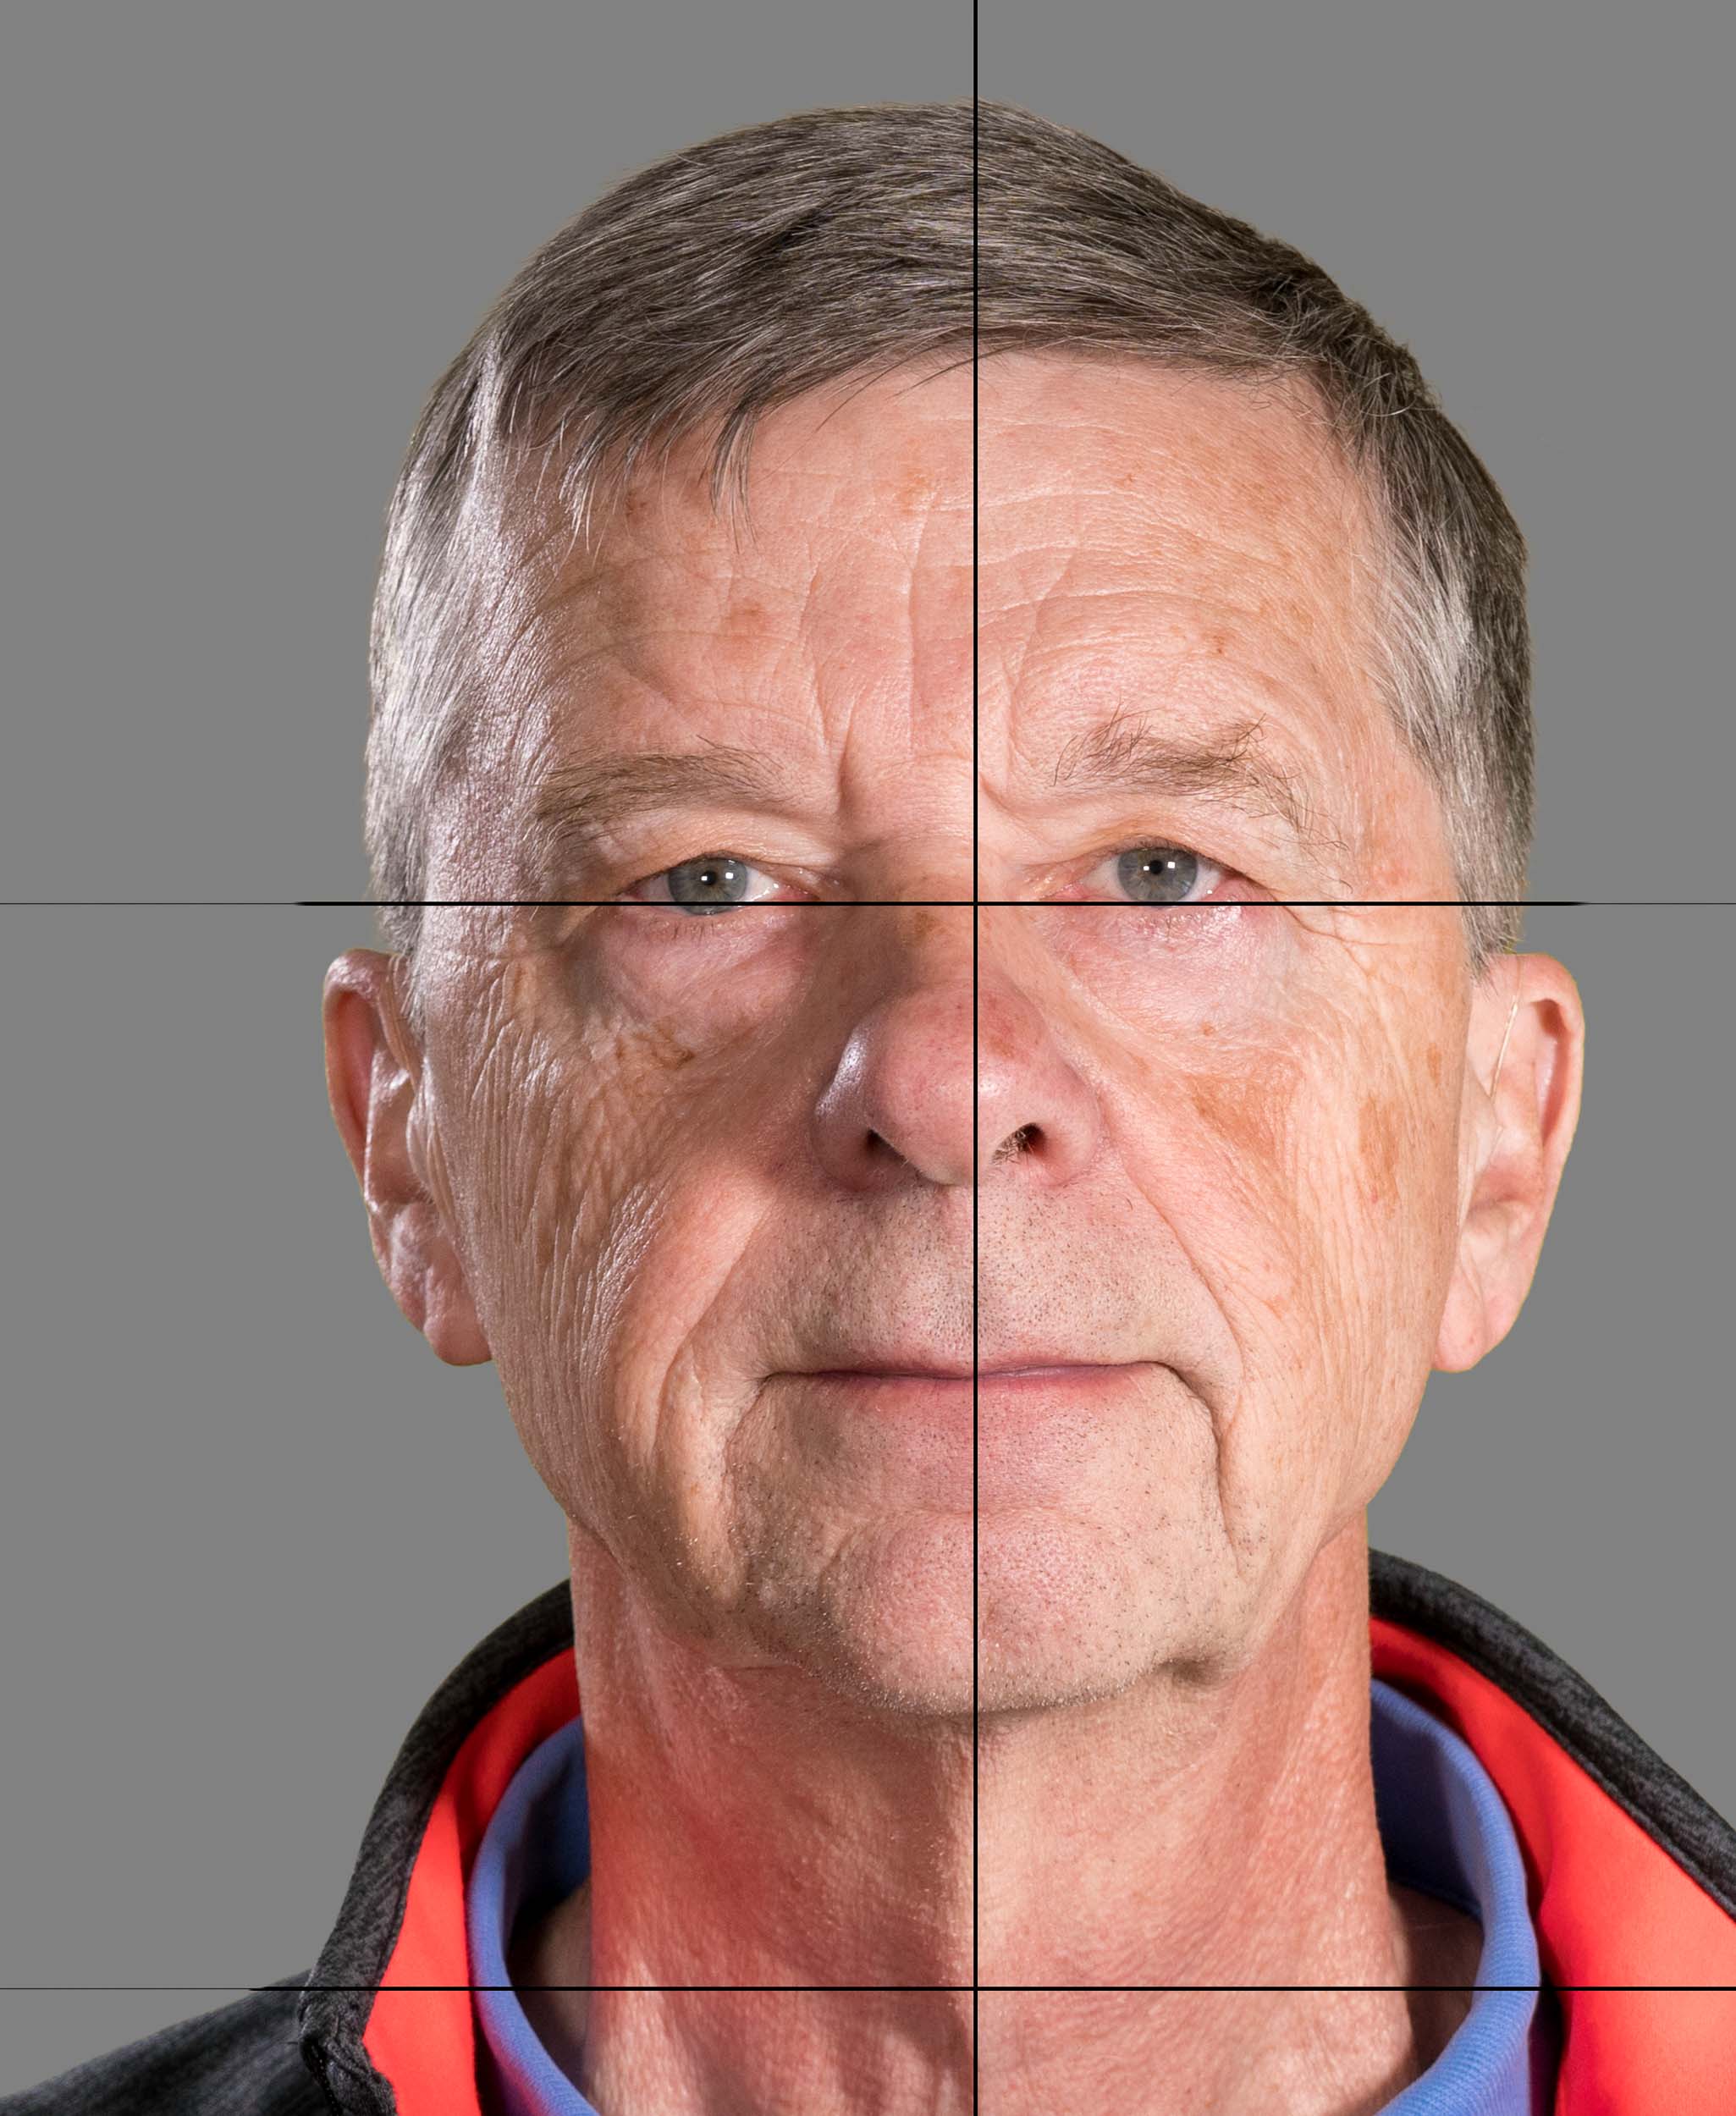
If you click on the image, you should see the full pixel level version. It has done a pretty good job (the black lines are the result of using the trial version) and the hair is smooth and feathered. It would composite pretty well into another background. There is no sign of green edges and the edges of the clothing are nicely extracted.
Now to Key36. As I mentioned, there are few options here so I just ran it with the default settings:
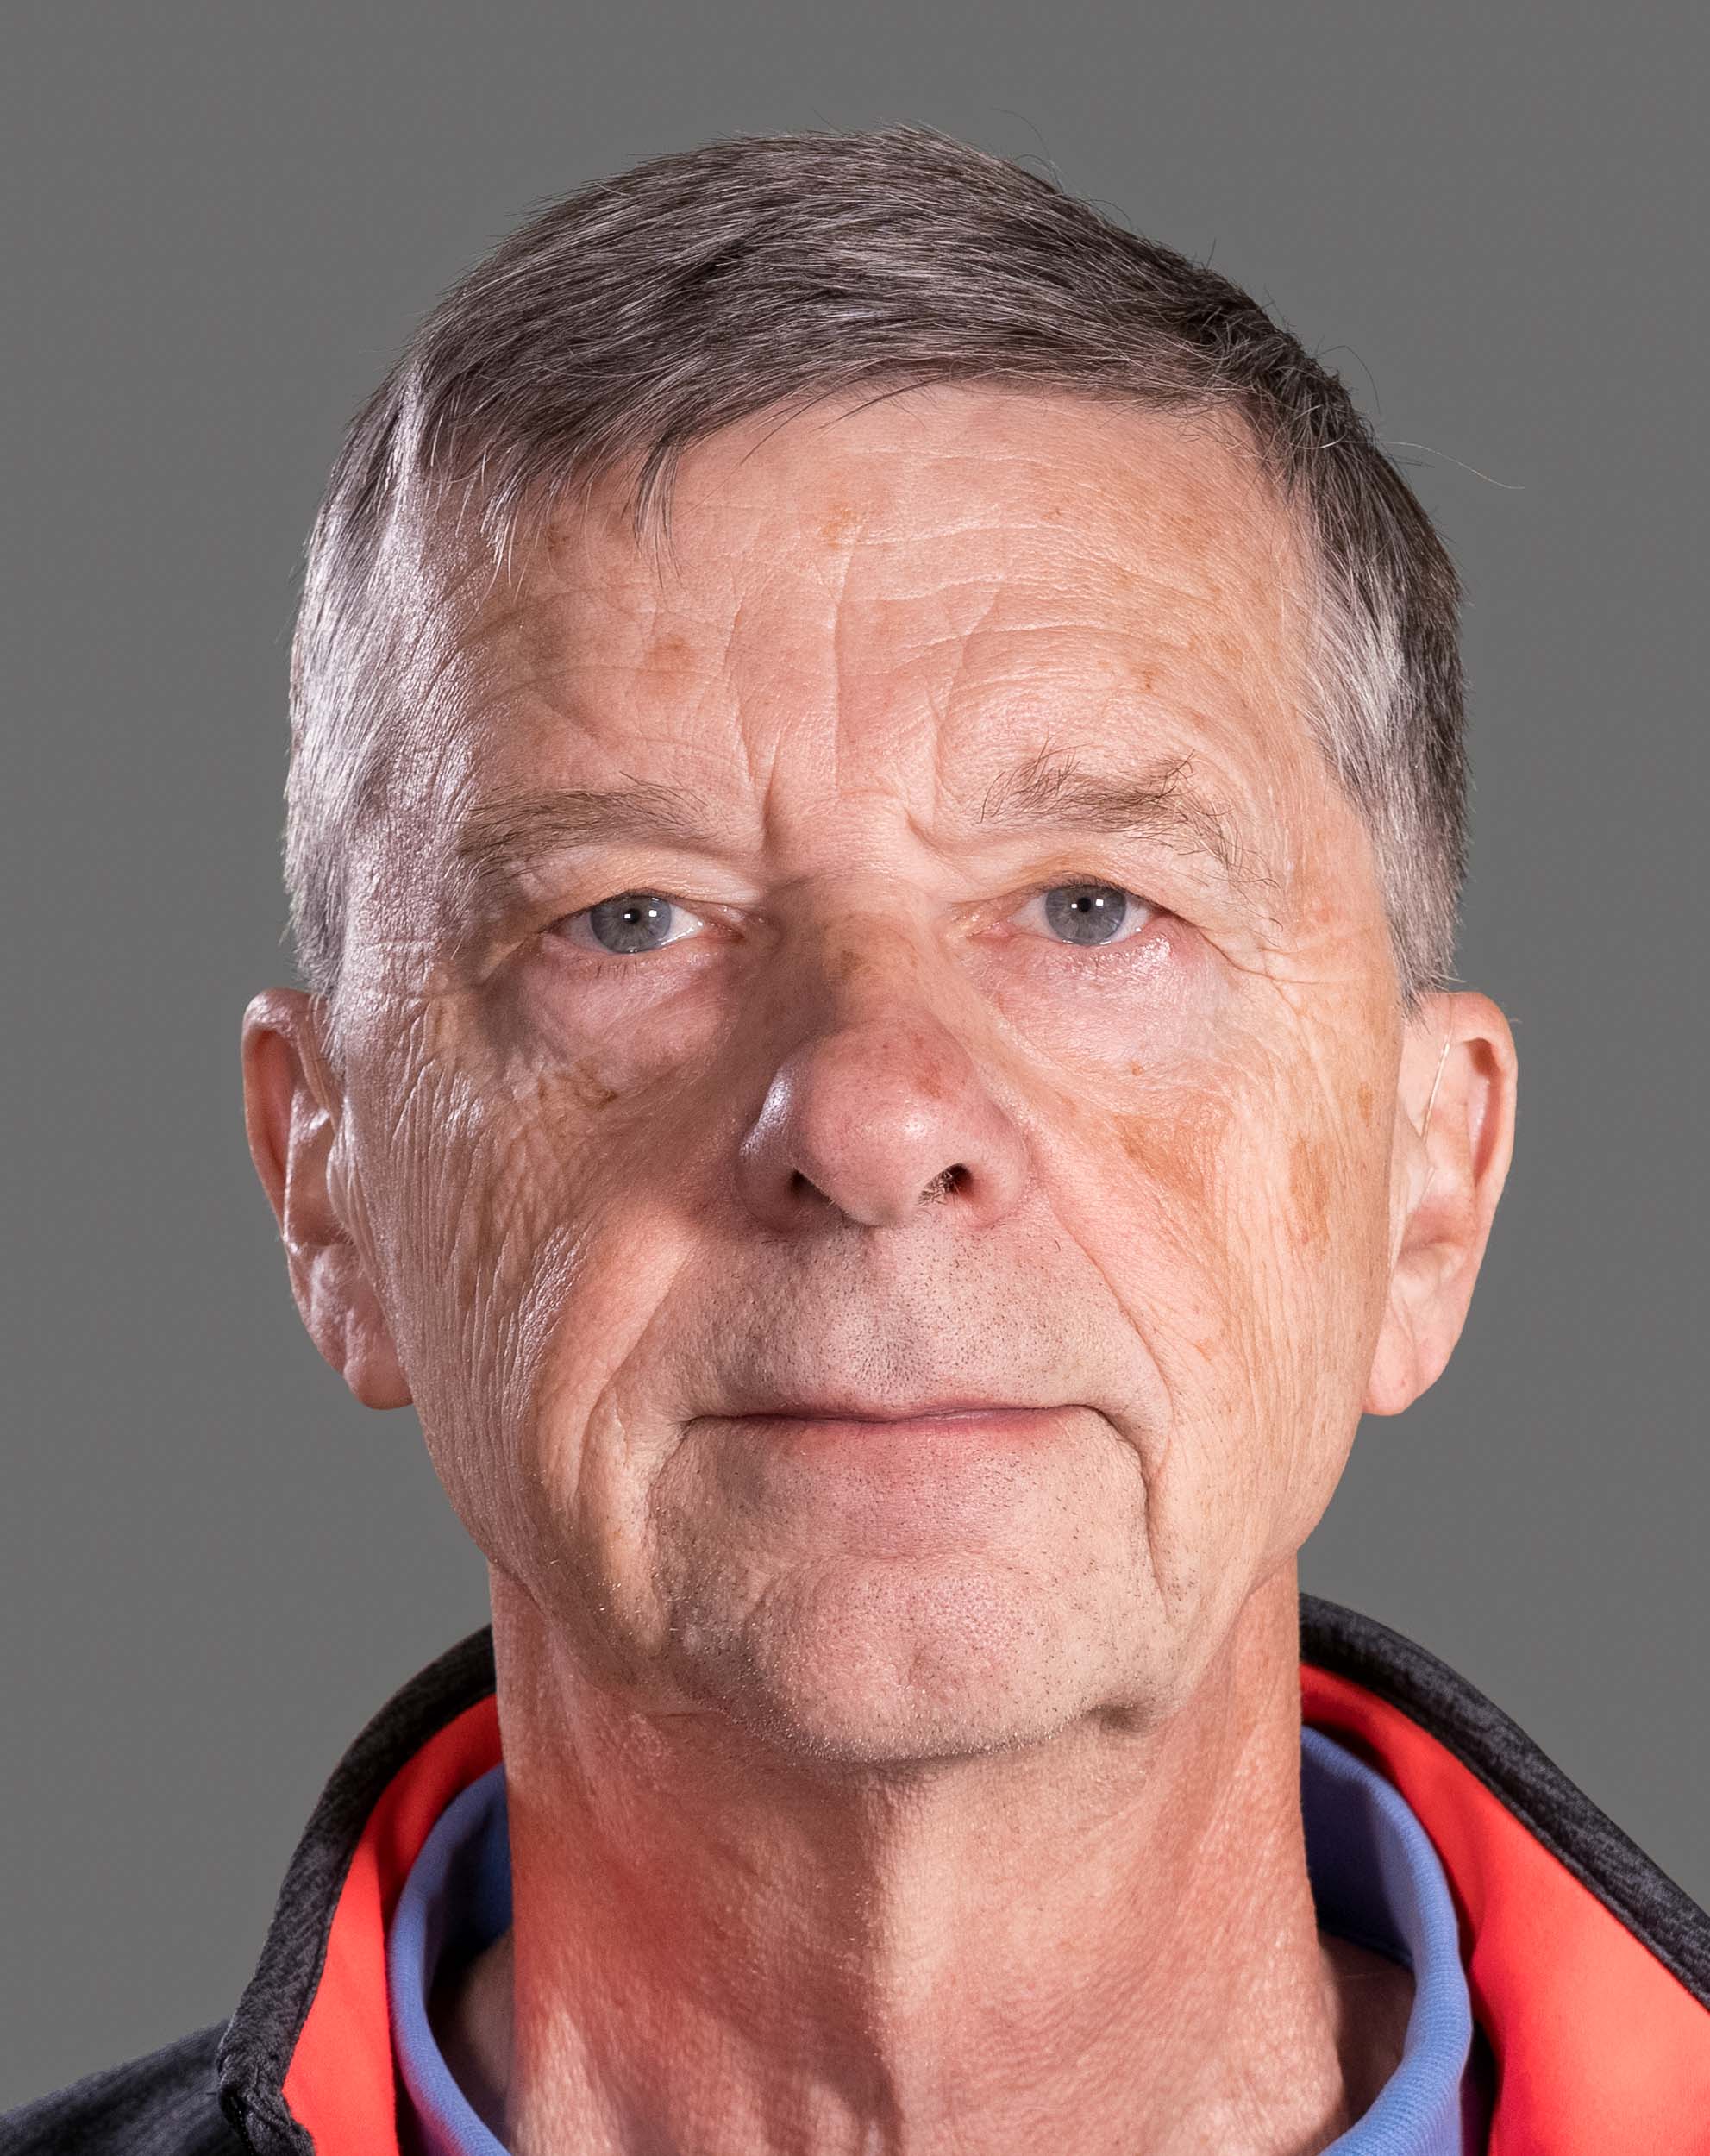
I must admit I was staggered when I saw the difference. If you look in the top right of my hairline, you will see tiny hairs that have been smoothly and accurately rendered in the extraction. I can’t think how I would have done that in Photoshop, but somehow the system has given me a much more accurate extraction of the hair. There are no green edges and it has been processed very cleanly. I did notice on one of my earlier extractions that it was less good with removing darker green shadows and so occasionally you might have to erase those from the mask it creates, but generally it does an excellent job.
I still have around 15 of my “free trial” extractions to use (you have a month to use the trial version), but I think my tests have shown that this “pay as you go” system can save me a lot of time, and produce excellent extractions for my future green screen work. So the winner is Key36!