Update on the Promote Remote
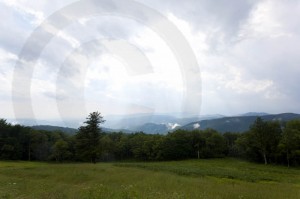
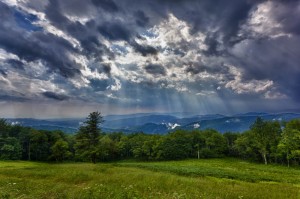
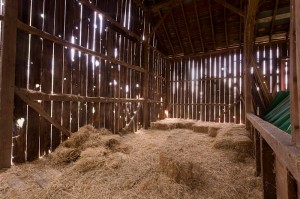
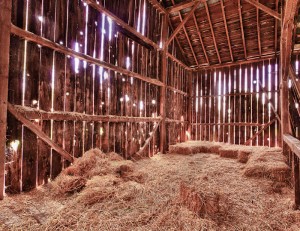
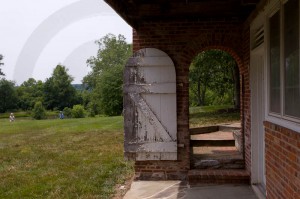
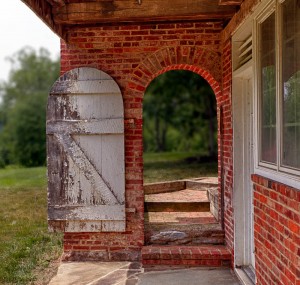
I spent Saturday at the Maryland Barn Storming event near Frederick where you get to visit eight historic barns in the area, including a fantastic home created out of an old barn. This event happens every year, and is well worth supporting if you are in the area. For me, this was also a great opportunity to try out my new Promote remote control for real. I took my tripod, used the 18-40mm lens for wide angle shots in small areas, and set the Promote up to do 5 shots at 1 stop difference for each of my pictures. The evening before I had been up on Skyline Drive during a thunderstorm and (once the rain had stopped), took some more images with the Promote with the same settings. Overall, I am very pleased with the results. I’m trying to avoid the “heavy HDR” images that you often see, but it is amazing how much clarity and color saturation you can get from the careful use of HDR. As usual, I use the Nik HDR Efex Pro software, and the free downloaded profiles mentioned in the previous post. The remote was very easy to use, I followed my own guidance in the previous post about using the USB cable, and setting the camera to Manual exposure, and the remote smoothly modified the shutter speed to capture the images with no shake induced by touching the camera. For some interior shots in the barn, I used Live View to raise the mirror and then used the remote to trigger the exposures. Here are some before and after images from the two days:
For more details of the Promote Remote, and, in particular, how to set it up and use it with Canon cameras, please refer back to the previous post.



2 Responses
[…] is no way I would have got anything like the quality that I see in this image. I’ve recently updated my thoughts on the Promote Remote after more experience with the device. Test image for extended HDR Blog this! Bookmark on […]
[…] […]