
More Green Screen adventures
I wrote about my tests of Green Screen extraction plugins for Photoshop a month or so ago, and then went through a lull in creativity and didn’t do much more. My chosen solution at that time was Key36, a unique approach that seems to combine actions that run in Photoshop with some on-line control. They offer both online extraction where you upload the file to their servers plus this Photoshop action and their payment system is quite unique as well – you buy a set of extractions and they are used, one by one, as you use their platform. They have a very open trial period (25 extractions in a one month period) which is totally free of watermarks or any other restrictions. I ran out of my month period before I really finished testing, and they kindly extended that for a further month. So this article is about how I’ve been using it and what tips I have come across to get the best extraction possible with minimum effort. As I reported before, I was amazed with how well it extracts hair from the background:
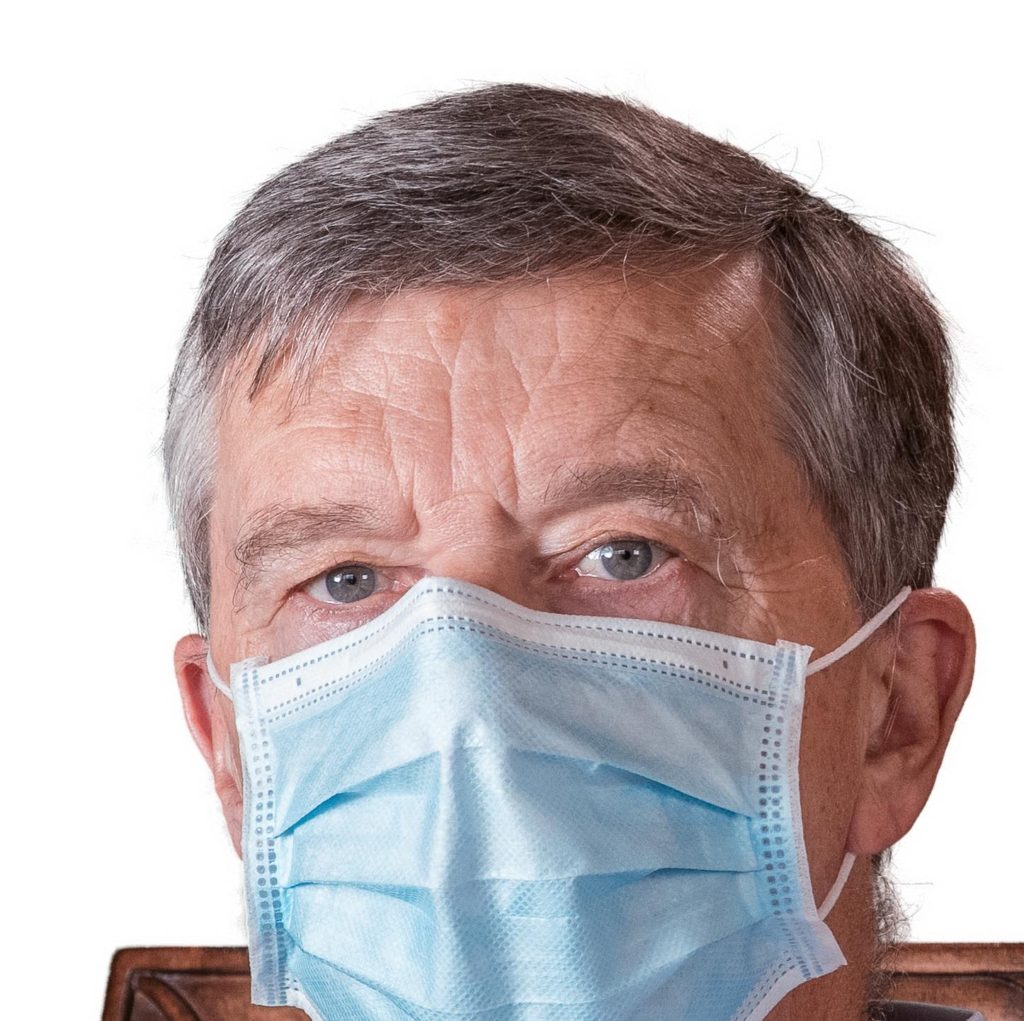
The hair is perfectly isolated and even that fuzzy hair on my neck is free of any green contamination – this is with no Photoshop work apart from running the Key36 script and accepting the result.
I did find that you really need to have the green screen reasonably smoothly lit (and ideally cover the whole of the frame. I wasn’t as clever as I should have been in positioning my screen:
I thought that this didn’t matter and I would just paint the missing screen in before running the script and I used the color at the bottom left. The extraction worked but the brighter green was fully transparent and the darker green around my head was only partially transparent. So try to keep that background nicely lit and fix these missing bits after the extraction. In this series, I place the green screen facing a large patio window and just used lighting for the model – a flash in a softbox to your left and an LED panel to your right to light up the shadows a bit. The window light was sufficient to light the screen without shadows even though it was about 20 feet away (6m.)
One of the comments below asked about focus and composition. In my previous post on green screen extraction, I used a light stand to focus on, and then stood at that place for the shots – manually focusing the lens to make sure it didn’t change. I take a test shot to make sure I am in the right area and then do my “poses”! In this series, I tried something different. I was already thinking of the composite shot with the angle of the seat – I could be at the side of the image and leave copy space to the left, or reverse the image in Photoshop and place it on the other side. I used a small wireless remote control this time, set a 5 second timer on the camera and used auto focus on shutter release to get the focus on my body. I clicked the remote, put it down by my leg and waited for the shutter to release. Every so often I would get up and check that things were clearly in focus – they almost always were. I do prefer manual focusing when I can manage it, but this auto approach also worked fine.
I also did some shots where I wore a yellow T-shirt and that was partially extracted. However, the program returns two layers in Photoshop – one with the extraction and all green removed, and one where you can paint back any colors on the clothing that are close in color to the background. So it was an easy task to select the shirt and bring back its proper color on this second layer. Every extraction I have made has been perfect around the head and only occasionally giving a slight edge to a shirt, for example, which is easy to correct.
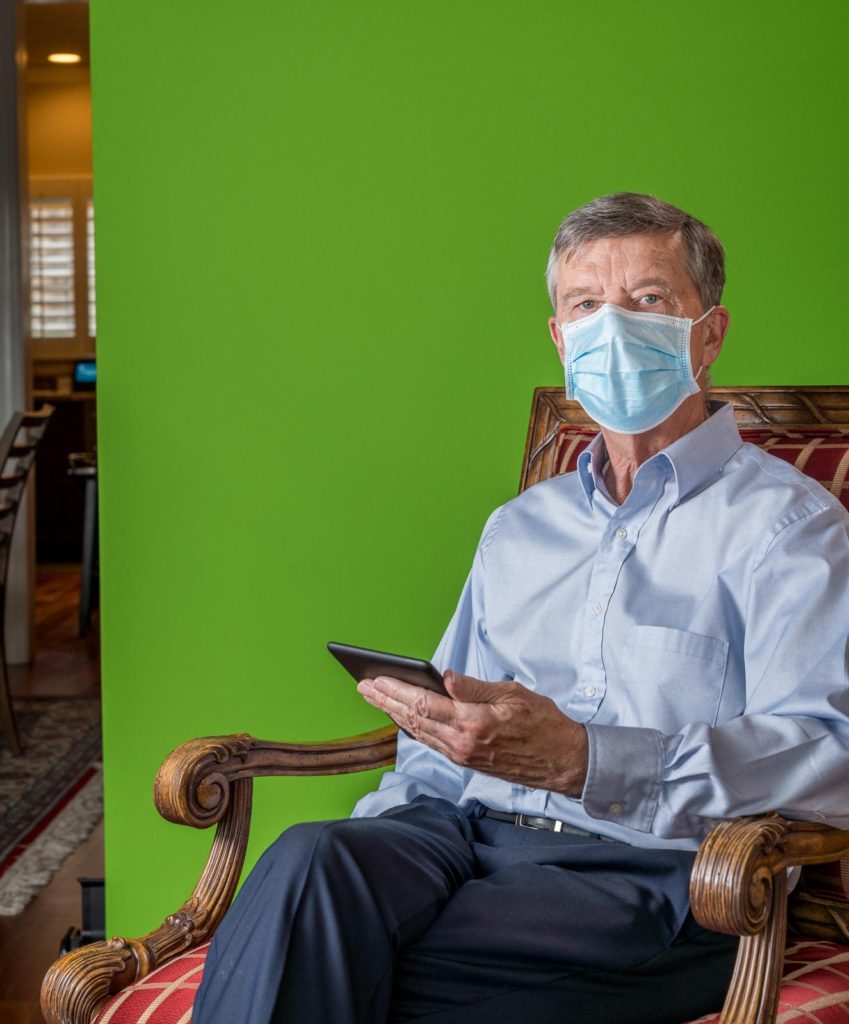
So what are these all about? I wanted to do some images to illustrate life for a retired person during the pandemic and so I’ll talk about how I put one of these together. The starter image is above – a man wearing a mask and reading a Kindle ebook reader. I’m going to submit this against white, but also thought it could tell a broader story of technology replacing older things – ie books, by putting the reader in a library. But where is my library background? This is a good example of taking shots of everything you see on your travels. In my case, a visit to the library at Coimbra University in Portugal which was the inspiration for the Harry Potter library. You aren’t allowed to take photos in the main library, but there are old books on shelves in some of the other areas and so I took a quick photo of those:

This was taken at ISO1600 and I took just two pictures of different shelves of books. Those formed the basis of my “library”:

Here I have created a library shot that is almost 16000 pixels wide by simply copying and pasting the images of the shelves in different order. I then copied a selection of some of the books and copied those onto different shelves to make it more random and to get rid of the white backed books that looked too prominent. I also made those darker in photoshop as well. I have submitted this (with blurring) as a background that could be used for Zoom backgrounds and it has sold a few times. So here is my library of books. But with the image above, you would expect to see some flooring before you got to the bookcase itself.
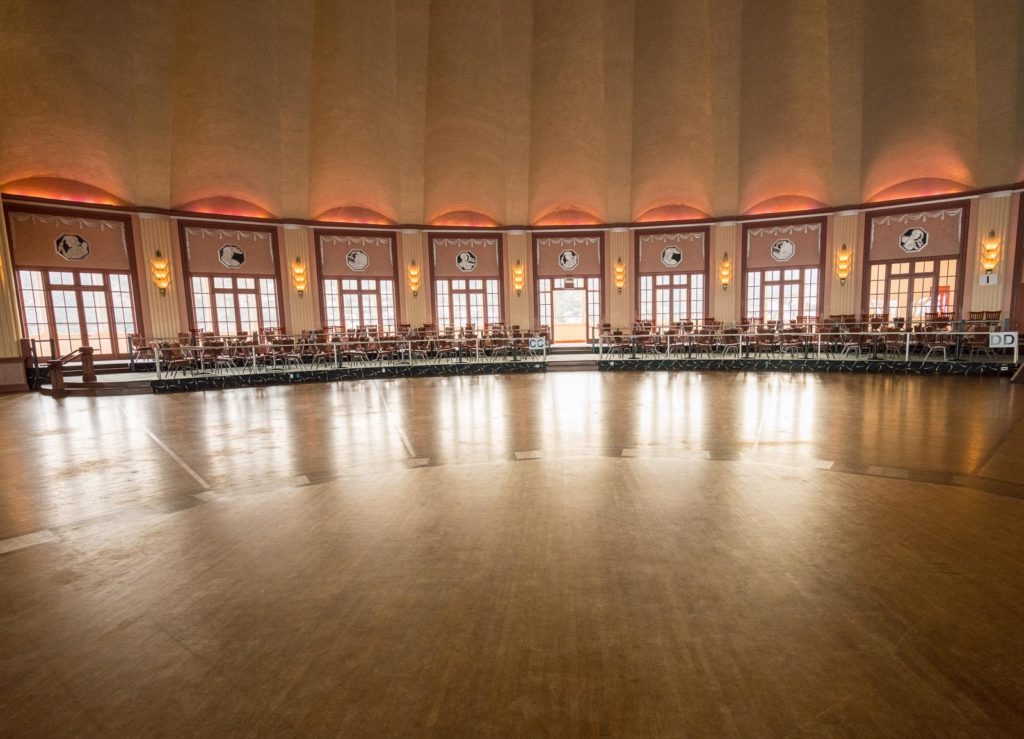
So we need a floor. I did take a photo of my own wooden floor at home, but I thought this old shot of the ballroom at the Casino on Catalina Island would be a nice fit. So I used that as my floor of the library. So I ended up with three images in my composite, blurred using the field blur filter in Photoshop to give a bit of depth to the image as well, and we end up with a senior man reading an ebook in his old library with a face mask:

And there you have it – use old images you have captured in previous years to make new (and hopefully) successful stock photos for the future.


Do you have tips for how to take your own photos of yourself (getting focus and composition correctly)?
I added another paragraph to the article to cover this. Hope this helps, but please ask any other questions you may have. I find it easier to just work by myself on these shots even though my wife is around and could press the shutter – I guess I am a bit less self conscious on my own! You need to relax until just before the shutter releases and then take the facial expression needed, otherwise I find it looks too forced to hold a smile in place.
Steve
Thanks for the tips! You’re certainly dressed like a pro! Since I still have a career in science, I don’t really want my face on outdoor adds by the freeway, never sure what they are going to do with the picture! But I will keep that in mind for less recognizable pics.
Yes, I can see why that would be a risk. I still do consulting, but I think at my time of life it doesn’t really matter if someone sees one of these images. I can always laugh it off!